How to grow greens
Loading...
All kinds of greens are perfect for beginners because they're easy to grow and don't require much space.
Growing from seed
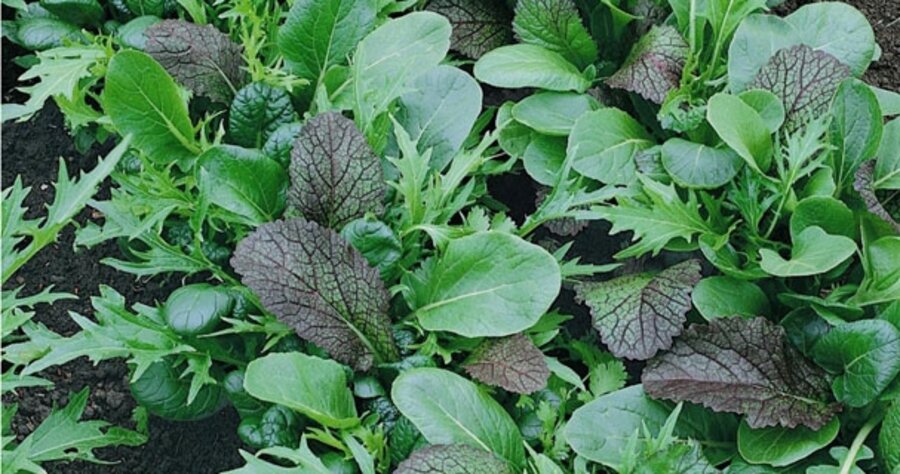
Greens are generally started from seed and are readily available in packets from retail stores, catalogs, and Internet seed companies. Economical and easy to start from seed, they are available as individual varieties and in seed mixes in a range of flavors, colors, and uses to suit any gardener or cook.
Greens grow best in a fertile, well-drained soil. Add compost or well-rotted manure to the soil before planting to improve drainage and add nutrients. Scatter seeds in a row and cover lightly with soil. Keep moist until seeds germinate, usually within seven to 14 days.
After seeds germinate and start growing, start to thin crowded seedlings. The best way to remove excess plants without damaging the other seedlings is to pinch them at the base of the stem with your fingernails or snip them off with a sharp scissors.
But don't throw these seedlings away. The small thinnings are delicious in salads and sandwiches.
Most greens like to grow in full sun, but they will produce in areas with light shade.
Sow seeds outdoors in spring or fall. For an extended harvest, make smaller plantings every two weeks.
As summer approaches, plant varieties of greens that are heat tolerant or resist bolting (going to seed). Additional plantings of greens can be made in late summer or fall (up to a month before the first frost) for harvest during the cooler temperatures.
In mild climates, greens can be planted throughout the fall and winter. Greens can also be grown in an unheated greenhouse, under row covers and in cold frames to extend the growing season.
Growing from seedlings
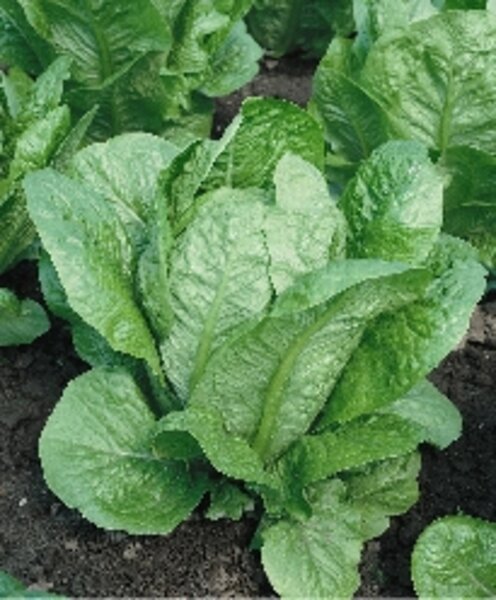
Because of their popularity, lettuce, mustard, and other greens can be found in garden centers in containers or six-packs for transplanting. To ensure a successful crop, be sure to prepare garden soil as recommended above.
Container growing
Greens are also ideal for growing in pots and containers. Choose a well-drained container that's at least four to six inches deep and fill with a soilless media available at retail stores.
Check the soil daily to make sure it hasn't dried out and water as needed. Containers may need to be watered a couple times a day when temperatures begin to warm.
If growing micro-greens, seeds can be planted in shallow flats and harvested about 10 to 21 days after planting. If given adequate light, they can also be grown indoors during the winter.
Pests and other problems
Greens are relatively free of pests and diseases because they grow quickly, often in cooler weather when fewer insect pests are present. However, it's a good idea to check plants regularly to prevent a minor problem from turning into a major garden disaster.
Since leaves are eaten, do not use any chemical pesticides. Remove insects by hand picking or washing them off plants with a stream of water from a garden hose.
Another way to control insect pests is to encourage ladybugs, lacewings, and other beneficial insects in your garden. These "good bugs" are natural predators of aphids, mites, and many other damaging insects. Beneficial insects are sold in many garden centers and online stores.
Growing greens in a well-drained, fertile soil, with good spacing between plants will prevent most common disease problems.
Harvesting and storing greens
Greens are versatile and can be harvested at almost any stage of growth. For micro-greens, harvest seedlings when they have one or two true leaves, usually 10 to 21 days after being planted. To use as baby greens, pick leaves after three or four weeks of growth.
Entire plants can be harvested or remove leaves at the base of the plant, starting with the outer leaves. Inner leaves will continue to grow and new leaves will be produced from the center.
Adequate spacing is most important when growing plants to full size. This is easy to accomplish by simply thinning plants as they begin to get crowded in the garden. Mature greens need about eight to 10 inches between plants.
When plants reach full size, harvest the entire plant by pulling the plant out of the ground or cutting it off at the soil line with a knife or sharp scissors.
Plants that have reached the end of their growing cycle will send out a flower stalk, a process called bolting. Many greens will also bolt when temperatures get too high. When this happens, leaves become bitter tasting and inedible, so remove the plant or plants and place in the compost bin.
Greens are best eaten fresh from the garden but can be stored in a vegetable crisper in the refrigerator for a day or two. Lettuce, collards, and mustard greens can be kept longer, from three days to a week.
Before storing, remove any remaining soil and damaged or discolored leaves that you won't be eating. Place in a plastic bag. Clean greens thoroughly by rinsing with cold water just before using.
Using greens in the kitchen
These versatile plants can be eaten raw or cooked in a variety of recipes. Greens are low in calories yet loaded with nutrition. Fresh greens are ideal for eating in salads and on sandwiches.
Create wilted greens by adding a warm salad dressing to a plate of fresh greens just before serving. Greens can be added to soups, casseroles, even used as pizza topping. Because greens contain a lot of water, they are generally added right at the end of the cooking time or cooked quickly to avoid turning to mush.
Asian greens, collards and mustard greens are often sautéed, steamed, braised, or added to stir-fry dishes.
Collards or mustard greens simmered until tender with salt pork is a favorite Southern dish.
Sorrel soup is a traditional spring soup served in Russia and Eastern Europe, while the lemony flavor of the leaves tastes great in a sauce paired with fish.
Gardeners and cooks alike appreciate the versatility of greens. Maybe this is the year to fill your garden and your kitchen with the inspirational colors, flavors, and textures of leafy greens.
This is the last of a four-part series by the National Garden Bureau on greens. The previous articles can be found here, here, and here.


