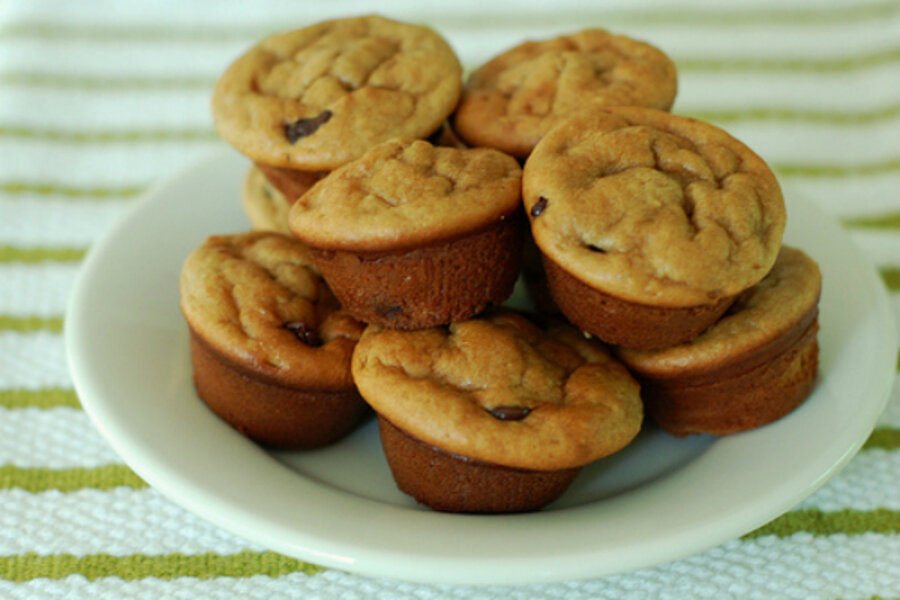
Gluten-, grain-, and dairy-free mini muffins
Loading...
As a card-carrying member of both the wheat and dairy fan clubs, these little bites of goodness challenge all my assumptions about gluten- and dairy-free baked goods by being remarkably tasty and moist.
I learned about these remarkable muffins from my good friend, Liza, who makes them all the time. The ingredients are so darn healthy that I would never have believed that the end result could be so good if I hadn't tasted it myself. But there's some sort of magical baking chemistry that happens to turn bananas, eggs, nut butter, vinegar, baking soda, and honey into something that's really hard to stop eating.
As with most of my favorite recipes, there's room for creativity – you can fill or top them with your choice of coconut, coconut flakes, jam, peanut butter, and more. And one more thing, they only take 10 minutes to put together and 10 minutes to bake. And I have a great tip for you that I also learned from Liza: If you have bananas that are on the verge of going bad but you're not ready to bake, you can store them in the freezer and just take them out a little while before you're ready to start. (You're welcome.)
Melt-in-your mouth mini muffins
The recipe comes via Halle at Whole Lifestyle Nutrition who got it from Paige at Simple Bites.
Makes 24 mini or 12 regular muffins
1 cup nut butter (I like almond butter best but I used peanut for this batch as I was out of almond)
2 ripe, medium-sized bananas
2 large eggs (try to find pasture-raised, organic from a local farm)
1 teaspoon organic vanilla extract
2 tablespoons organic sugar, maple syrup or honey
1/2 teaspoon baking soda
1/4 teaspoon salt
1 teaspoon apple cider vinegar
Optional but highly recommended: chocolate chips! You can also use dried cranberries, coconut flakes, pepitas, etc., but the chocolate is my favorite by far.
1. Preheat oven to 400 degrees F., and grease your muffin tin.
2. Place all ingredients into the bowl of a food processor or blender and blend until well-mixed.
3. Pour the batter into the greased muffin tin. Add additional toppings of your choice to each muffin and lightly stir into each cup. Or, if you'd prefer to fill the centers, pour the batter in halfway up, add a dollop of the filling of your choice and top off with the rest of the batter.
4. Bake for 10 minutes for mini-muffins or 15 minutes for full-sized muffins. Let cool briefly then turn out (I used a mini silicone spatula to get mine out without damaging the non-stick coating on my muffin tray) onto a wire rack to cool completely (or eat them warm!).
.


