Graveyard dirt cake for Halloween
Loading...
This past weekend, I volunteered to make two cakes for the cake walk at our school’s fundraising event, Pumpkinpalooza. I always love an excuse to bake and don’t usually shy away from an opportunity to make a layer cake from scratch. For those who don’t know what a cake walk is, I recently heard someone describe it as part musical chairs and part bingo. Participants walk in a circle on top of numbers and when the music stops, a number is randomly chosen. The winner gets a cake as his or her prize. It’s quite thrilling, especially for baking/baked goods enthusiasts!
While trying to decide what to make, I remembered back to my first cake walk memory. My elementary school hosted an annual event called Family Fun Night. We looked forward to it all spring. Carnival-inspired games and the ever-popular though accident-inducing Space Walk (large, inflatable jumping cage) were crowd-pleasers.
When I was in third grade, I won the cake walk at Family Fun Night. I was standing on No. 20. As adrenaline pumped through my little veins, I scanned the table of cakes and chose one to take home. Clearly, it was one of the biggest moments in my early childhood since I can still picture that winning number written in chalk peering out from under my feet! Earlier that week, I had enjoyed another cake-centered win by earning a blue ribbon in my class cake baking competition. I’d used animal crackers and straws to create a carousel cake.
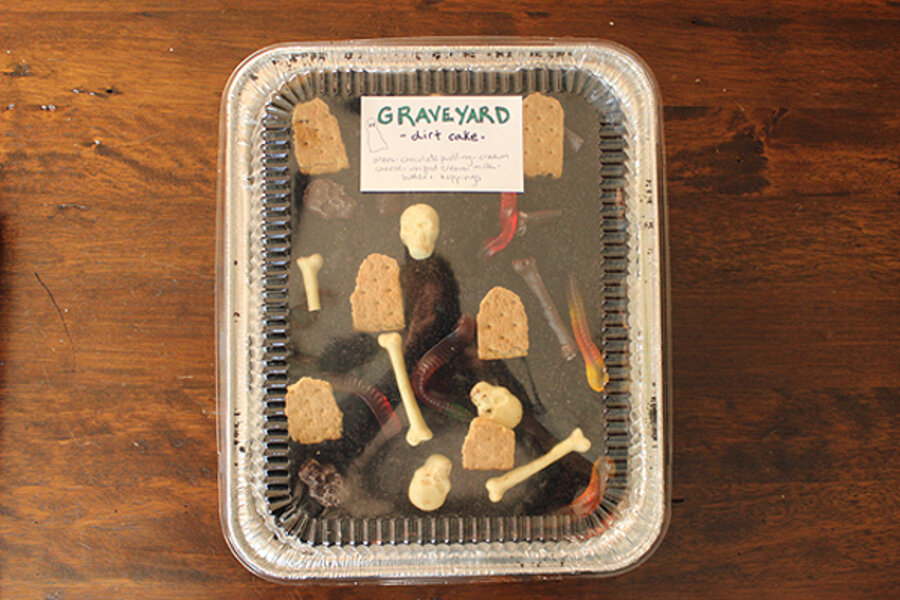
As I let the waves of nostalgia roll over me, I realized that I shouldn’t bake the cakes that I wanted to bake for last weekend’s event but to consider my audience and create something that would make the cake walk winners excited. I have always loved the idea of dirt cake and decided to create this spooky, seasonal version. It also lent itself to the practical, give-away container. It’s not easy to pack layer cakes “to go” for outdoor events.
This recipe swings the pendulum as far as it can reach from a “scratch” cake. You basically buy a half dozen highly processed foods and toss them all together. I’ve decided there is a time and place for Oreos and Cool Whip. I can’t be a purest all the time.
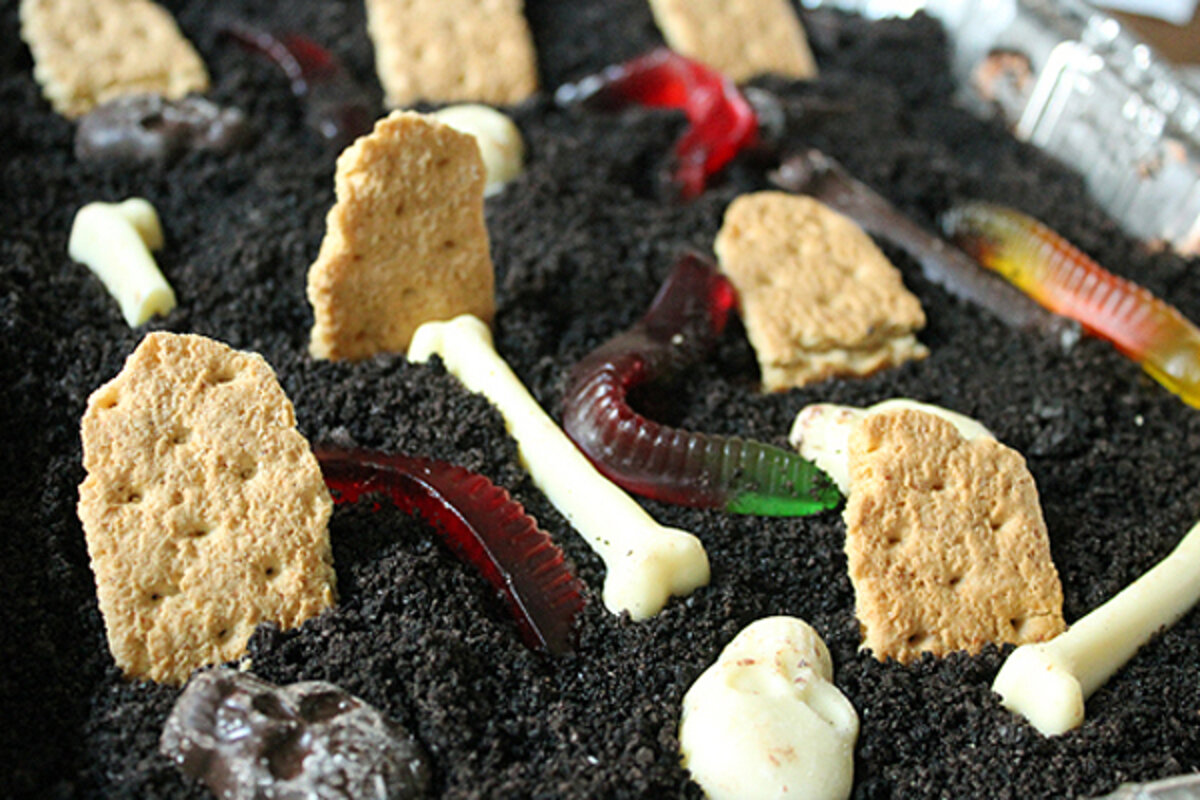
I was fortunate to stumble upon chocolate skulls and bones at Target that I sprinkled across the top. I’ve seen Pepperidge Farm Milano cookies used as headstones and they are adorable but I forgot to buy them. The graham crackers got a little soggy and started to droop but my daughter claimed they looked even better and spookier that way. Thanks goodness for Mommy’s little fan club!
We arrived a little late and found that the Graveyard Cake had already been won. A half hour later, I saw some young boys at a picnic table hovered over the pan, dangling the gummy worms above their mouths and laughing. My girls played the cake walk a number of times and on the third attempt, our little 2-1/2-year-old won! She chose a chocolate cake that was loaded with star-shaped sprinkles. She was beaming with pride as we sampled her cake, shared it with friends, and explained that we could bring it home. I wonder if she will remember her first win for decades to come?
Graveyard dirt cake
(Adapted from a few different recipes)
1 package Oreo cookies (16 ounces)
12 ounces cream cheese, room temperature
4 tablespoons unsalted butter, room temperature
3 packages (3.9 ounces each) instant chocolate pudding
4-1/2 cups milk
1 carton frozen whipped topping, thawed (16 oz)
Gummy worms, chocolates, graham crackers or cookies for decorating
1. Pulse Oreos in a food processor until they resemble dirt. Cream together softened cream cheese and butter.
2. In a separate bowl, combine pudding and milk and milk until thickened. Stir in whipped topping. Combine pudding mixture and cream cheese mixture. If using a 9- by 13-inch pan, sprinkle about a half of the cookie mixture on the bottom of the pan, then spread the pudding and top with the rest of the cookies.
3. Decorate the top. If you are using a flower pot or deeper container, split the cookie mixture in thirds and add a layer in the middle.
4. Chill for at least 4 hours or overnight before serving.


