How to make cake pops
Loading...
Cake pops are all the rage these days … or am I thinking of cupcakes? Or is it macarons?? I can’t keep up. But, you can find cake pop recipes and ideas all over the internet and magazine covers these days. Starbucks even carries these sweet treats right next to the muffins and dessert bars. They’re insanely cute and super fun to eat. The best part is that there are a million possible flavor and design combinations.
Once you’ve got the basic idea, you can have a lot of fun customizing these little goodies with different flavors of cake, frosting, and candy coating! Then, get creative with the decorating! I’m already planning on making bloody eyeball cake pops for Halloween, turkeys for Thanksgiving, and snowmen and trees for Christmas!
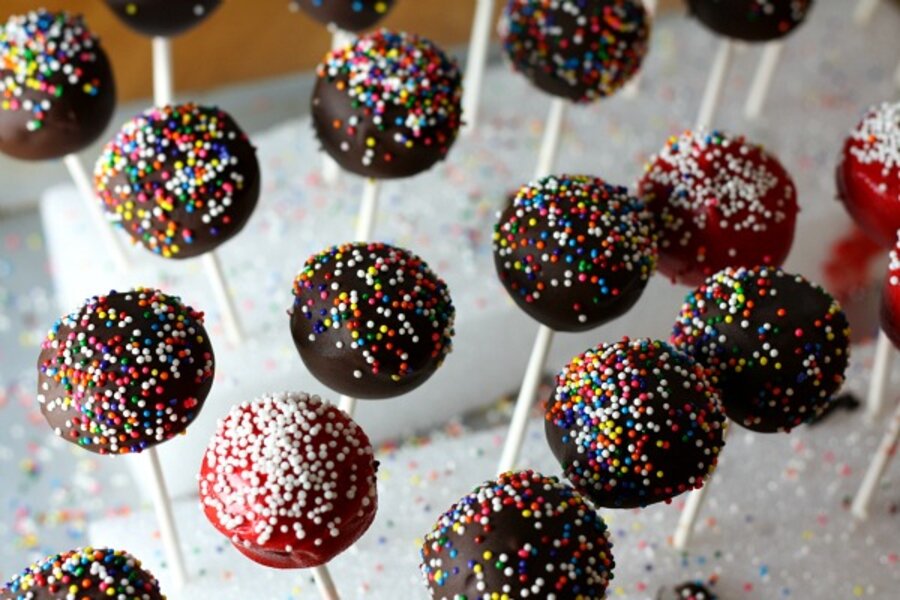
For my little guy’s third birthday (and my first attempt at cake-popping), I made a batch of decadent triple chocolate cake pops. It’s a simple, but somewhat time-consuming process, so plan ahead. Here’s how it’s done.
You will need:
- 1 13×9-inch cake
- Cake frosting (approximately 1-1/2 cups)
- Lollipop sticks
- Candy Melts (approximately 4 cups)*
- Sprinkles or other decorating candies (optional)
- Block of Styrofoam
*If your grocery store doesn’t carry the candy melts, check your local craft store. They come in all sorts of colors and flavors!
Bake a 13x9-inch cake. Use your favorite homemade recipe or one box of any flavor cake mix. (You can bake the cake a day ahead of time, if desired.)
Once cool, crumble the cake into fine crumbs. This is a perfect job for little helpers. You’ll end up with a big bowl of fine cake crumbs.
Combine the cake crumbs with any flavor frosting. A container of prepared frosting works fine or use your favorite homemade. Depending on how moist the cake is, you probably will not need the whole container of frosting. About 3/4 of a 16-ounce container should do the trick. You want the mixture to be moist enough to mold, but not too mushy. Mushy cakes will have a harder time staying on the sticks – lesson learned the hard way.
Refrigerate for about 30-45 minutes (or longer) to help firm up the mixture.
Roll the mixture into balls, just over an inch in diameter.
Melt a small quantity of the candy melts according to package directions. Dip the end of each lollipop stick into the melted candy, then insert the stick a little more than halfway through each cake ball. Place each pop upside down on a baking sheet and freeze until quite firm.
Once firm, warm the candy melts according to package directions. Use a container that is tall and narrow enough to fully emerge each cake pop into. A 2-cup Pyrex measuring cup worked well.
Dip each pop into the melted candy. Gently swirl the pop to remove excess candy. (Skipping the swirl step will result in a candy coated stick. Trust me on that one.)
Decorate with sprinkles or candies, if desired. Then, place each pop into a piece of Styrofoam to dry upright at room temperature. (Refrigeration will cause condensation on the surface of your pops. Another lesson learned the hard way.) The candy exterior will harden at room temperature.
To see photos on Amy's blog that illustrate each step, click here.


